Oh my word? Have you ever spent hours at the end of the school year sorting through student work to put into a memory book? Have you ever lost your mind trying to figure out who stole the binding machine to put together books while you so desperately need to begin yours? Were you that teacher who took the binding machine? Oh geez, this is stressing me out just hearing about this!

What you Need
If you hate putting memory books together, then I've got the solution for you! I am paid a small fee from Amazon for sharing these awesome resources with you! All you'll need are file folders with the prongs a two hole punch and these activities for the entire year.
Where to Hang a Memory Book
I can't suggest enough that you should place your file folders turned memory books somewhere low and have students be in charge of hanging up their work. I've got mine trained-if they see hole punches at the top, they know it's going on their memory book.
Side note: I hung mine on a high wall and dreaded hanging up work…lesson learned!

What Do you Display?
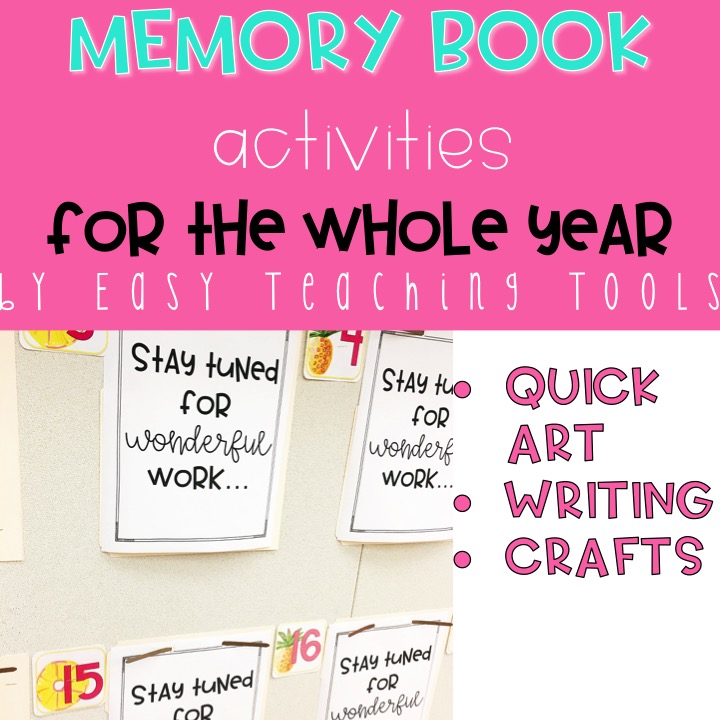
It's totally up to you to display what you want. In my class, we add art work {that includes craftivities, directed drawings, seasonal art…} and monthly reflection writing (sometimes in pamphlet form) and seasonal writing. I've put the activities in this year long resource for you.


At the end of the year, my kids go crazy looking back at all of their work. They especially get a good laugh at their first day of school portrait.

As a teacher, I love going back and realizing that we had a pretty awesome year. I also give myself a little pat on the back for giving my kids the opportunity to create art on a pretty consistent basis.

Photo collage
Every month, I create a color photo collage of the awesome things we did that month. I send it home in our monthly newsletter so parents can have a peek. But at the end of the year, I take all of those collages up to the copy machine, and copy them, back-to-back in black and white, and attach them to the front of the memory books. The kids think it's like their own little yearbook. I'm a huge advocate for students doing things for themselves, by themselves. So, each kiddo is in charge of adding these photos to their own memory book. Since they are already in order, the kids just plop them into the book. Super easy!

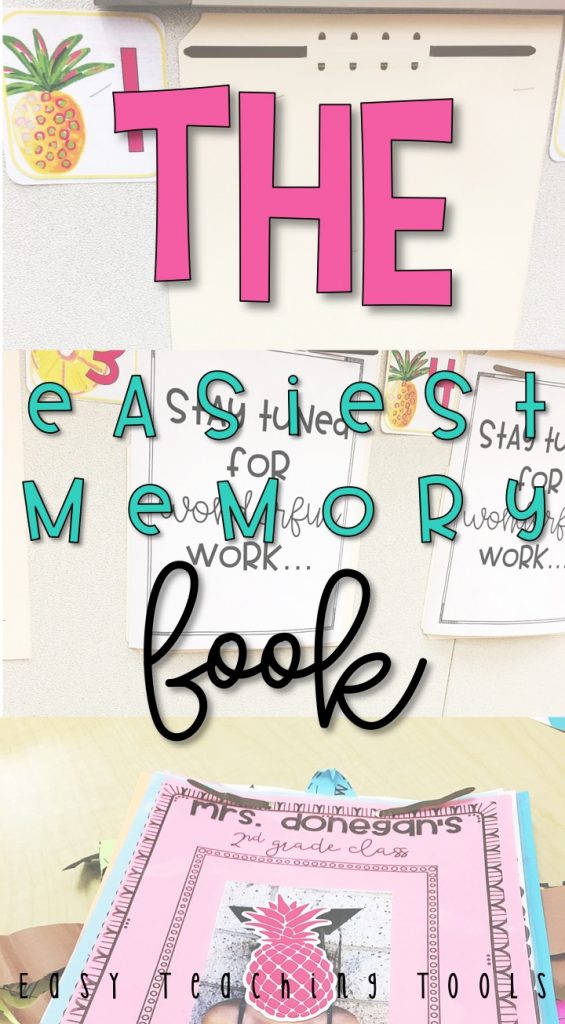
Memory Book Cover
To finish off the memory book, I print off enough cover pages for the whole class. It has my name, our school name, and the year. I take a photo of each child with a cap {it's a table center piece from the Dollar Tree), print it on photo paper, and laminate it. I recruit a trusted kiddo to be in charge of laminating with my personal laminator. Not comfortable with that, have a parent do it or you can do it at home in front of some good reality tv!

Here's a side view of the memory book that YOU DIDN'T have to put together. Now you can use that time to do all of that other end of the year stuff that needs your attention.

Want your very own editable copy of the memory book cover? Click on the photo!

It's completely editable so you can add your class name, grade, school name, and year.
You'll need to download KG Shake it Off, KG Drops of Jupiter, and KG Wake Me Up if you want the fonts to look like mine!
Still have questions??? See part 2 here.
[ess_grid alias=”grid-1″]


53 Responses
I love, love, love this! I like hanging the kids' work in the hallway for everyone to enjoy. Do you think it would work in the hall? Are the prongs durable enough to hold all of the work all year?
I'm glad you like it. I hope you clicked on The Primary Pack link above because I go into great detail about them. I even show you that they last all year long!
I really love this and want to use it this year! Any tips on hanging on cement block walls? I was thinking maybe hot glue, but may get too heavy. Command hooks may be a (pricey) option. I appreciate your help❤️
I’ve had a few people ask this. I think command hooks or a cheaper version are probably the best way to go if cement is your only option. I’d hole punch the top corners and hang them on the hooks. If it’s too heavy, try those hole punch reinforcement stickers.
What do you think about using double sided tape? The thick scotch one.
These can get heavy so I’m not sure if that will hold up. Try command hooks instead.
I tried using packing tape around all the sides on cement walls, but it became too heavy and kept falling down. This year I think I might try the command hooks, but again that is pricey. I saw one idea on a comment about using a 1 inch binder with plastic sleeves. My only problem is I really like the display aspect of this idea.
I’d try the command hooks or try one of those cork board strips.
Hi! Love this idea! Are the numbers decals or just printed on paper? I love them!!! Thanks!!
They’re from Teacher Created as part of an alphabet set.
LOVE this! I’m on vacation stalking your blog- and this project finally soaked excitement for me to return to school in a few weeks! Question: the “amazing work to come soon” sign is that a printable from you on tpt!? If love to use for orientation on the blank board where student work will go.
The dental crafts? I’d like to do that with my class. Is that a product on tpt? Thank you so much for your help.
It’s a freebie from here
This is an amazing idea! I’m definitely going to try it out this year! Where did you find that pencil craft, soo so cute!
It’s from a Cupcake for the Teacher on TpT
This is actually going to save my life, I just know it! Thanks for sharing your wonderful ideas.
Brilliant. I’ve always made backing “frames” for each student’s art work that we just remount with their latest, standard sized creation. I prefer your idea. Well worth the effort & definitely something I’ll adopt. Thanks for sharing.
Love it! Do you put every art project/ big project in there or is there some stuff that you do send home individually ?
I love this!!!! It will save me precious time!!!! I need more instruction and/or visuals in how you attached the cover. I don’t see prongs on the cover page on your photo, so I am wondering how you put it on.
In my school we HAVE TO do portfolios, and there is waaaaay too many papers in the binders… some of them meaningless… I LOVE this idea and it makes a nice display. I’ll keep this in mind for the future! 🙂 Thanks !
How are you attaching these to the wall? It looks as if they are some type of strips, but I can’t tell.
Thanks!
I staple them to the wall. I staple the 4 corners and one in the middle!
This looks awesome gonna run right out to Staples. Thank you!!
Absolutely love this! Thank you for sharing!
Do you leave it on the folder and send home that way and use another side of the folder the following year or do you put it together with ribbon or rings or something like that. I did it this year just now have to send home and a little confused.
I close the prongs, pull the entire folder off the wall, and send it home! Then, I staple new folders up for next year. But you could always use rings, ribbon, or a rubber band and paper clip.
Love this idea. I have a question about the folder. Are you using both sides of the folder? I only see you display one side.. do you cut it in half or use both sides? Just a little confused as the folder has two sides with prongs.
I cut the folder in half. So one whole folder works for 2 students!
I did a version of this for this year. I still put their work in the hallway every few weeks. When I put up new art work, the stuff coming down got hole-punched and into the two-prong file folders you mentioned. It is nearly as daunting doing it every couple of weeks vs all at the end of the year.
What about putting the memory book in the hallway and have your students put their work in it so you’re not having to?
What size folders do you use? Letter or legal? I’m trying to decide what I’d like to use. Thanks!
If you click the links in the post, it will take you to exactly what I use!
First year doing this and I will never do it different again! This by far is genius. My parents loved t at the end of the year and I have my whole team doing it next year plus other teachers in building are doing it as well! Thank you so very much for sharing!
Oh my goodness, this makes me so happy to hear!
Do you think this would work in the hallway? And display the different pieces all year?
This is the best idea I have read in a LONG time!!! Thanks for sharing
There were stacks of these folders in a bin at the resale shop last week! I will be there bright and early in the morning! Thanks for sharing your great idea!
where can i get the great work coming soon sign?
It’s in the freebie section of my website!
I’m so excited to use these in Kindergarten this year! I’ve been needing a way to display all of this fun work and a better way to “force” myself to do more writing and crafts! One question – do I need another font for the page that says “Stay tuned for wonderful work!” ? It looks like ‘wonderful’ isn’t in one of the 3 fonts it said you used. Thanks!
Ok I read the google doc and answered my own questions… but here’s a second question!
Is there any way you could add number labels for the memory books with actual numbers (1, 2, 3) instead of the written number (one, two, three)??
I will work on that tonight for you. Just check back in the morning!
It’s a PDF that you just print out, no need to edit!
This looks awesome! Thanks so much for the great idea! When you are all done with it, does it come out in reverse chronological order then? With beginning of the year in back and end of year in front?
It does, but if that bothers you, you can have your students take off the entire pile and put them back on, one-by-one!
Where did you get the colored numbers you display next to them?
They’re in my memory book resource!
I was new to second grade and I tried this memory book. I love it! My classroom always has different work displayed with minimal effort from me. Thank you so much for sharing this idea! I shared it with my colleagues and entire grade level is using it.
Ready to bind the books.
How EXACTLY is this done? Do the laminated front and back covers get 2-hole- punched?
You add a cover to the front and they’re ready to go home. We only laminate the cover!
Would you use a memory book for 5th grade students?
Of course! We have teachers using them from Pre-K-6th grade!